Back in 2018, I wrote a blog article about leveraging the AWS Storage Gateway service with S3 buckets to provide remote backup capabilities to vCenter Server and the NSX-v Manager. With the deployment of the new Home SDDC Lab, I wanted to leverage that same functionality with NSX-T. It’s a quick and relatively low-cost method for backing up critical components without a heavy-lift or additional 3rd party software.
Update: The following two posts have been written to detail how to leverage the AWS Storage Gateway for NSX-T Manager and vCenter Server Appliance backups.
Deploy the AWS Storage Gateway
Again, AWS provides decent documentation for the deployment of the Storage Gateway on a variety of platforms, including VMware. Download the OVA file and deploy it into the vSphere SDDC environment. Prior to powering on the server for the first time, you will need to add an additional local disk.
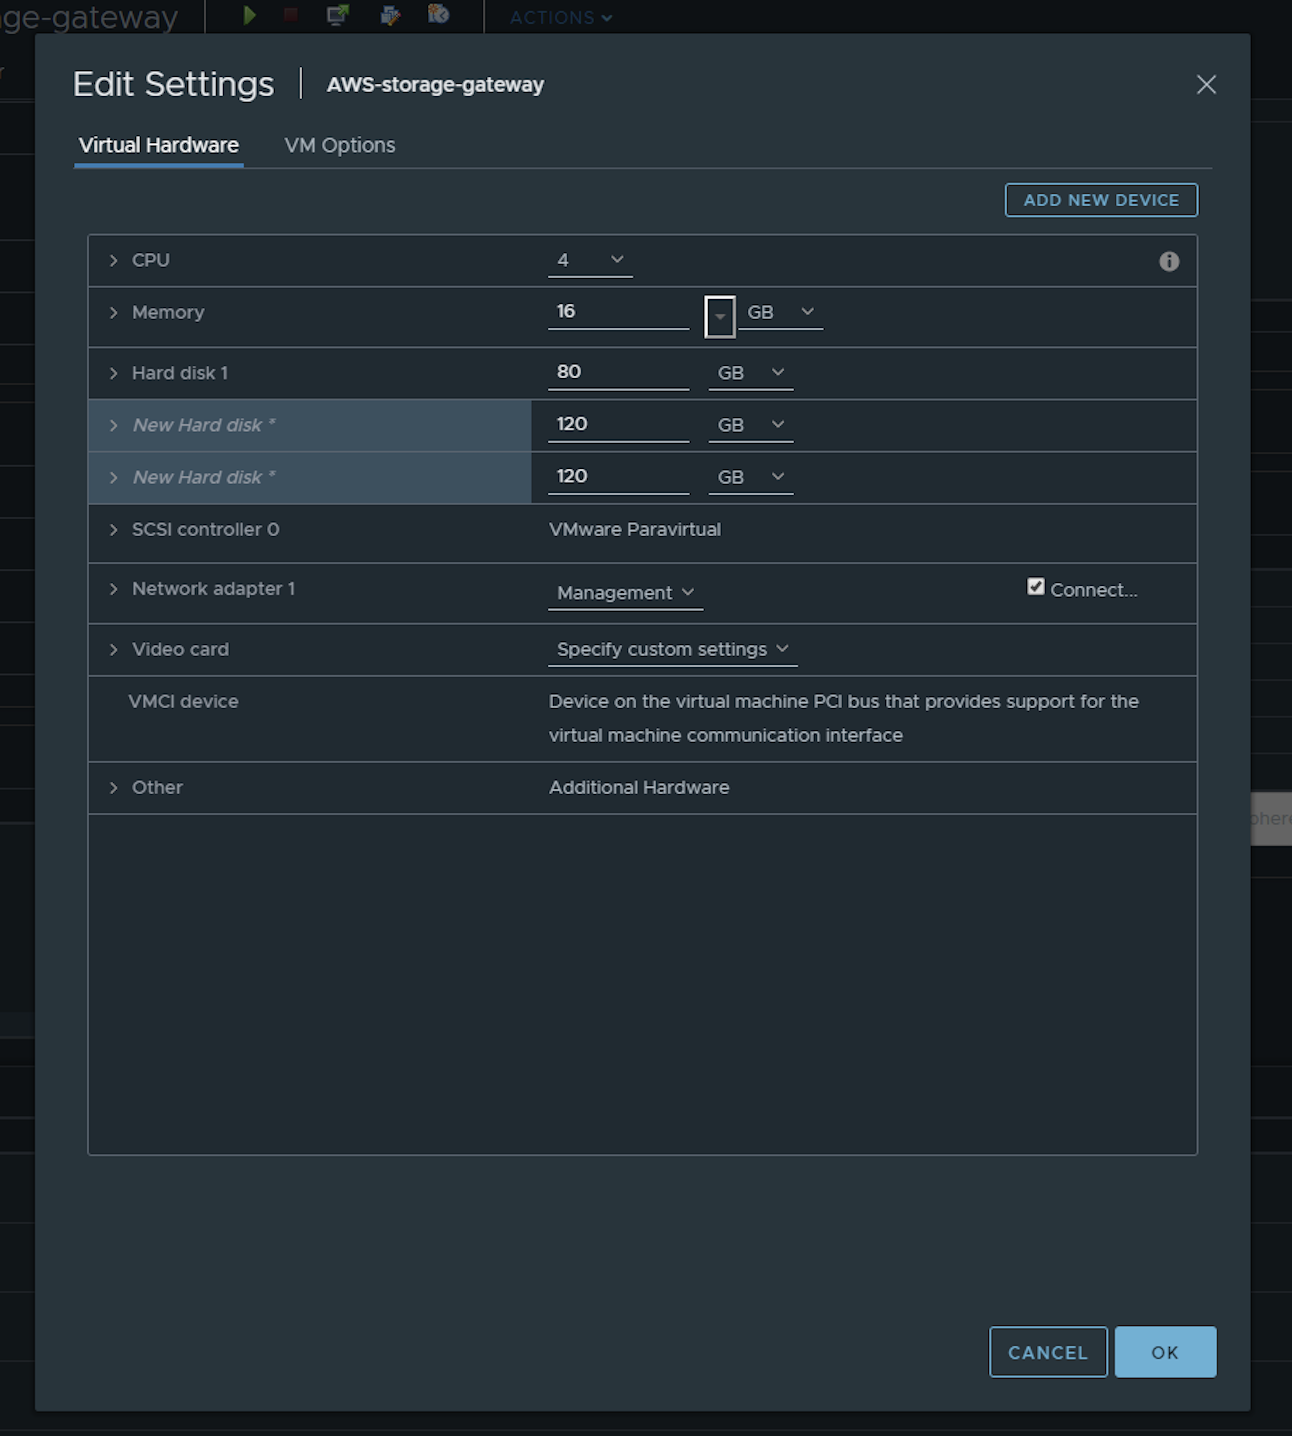
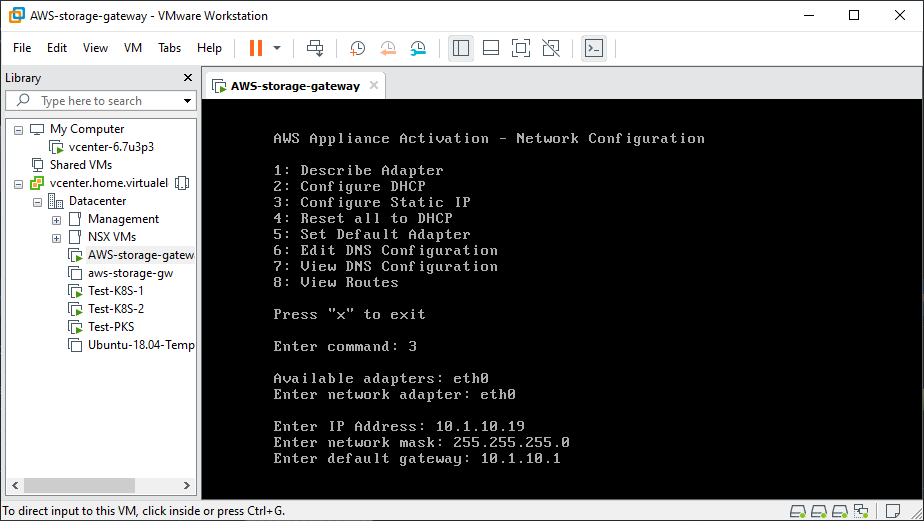
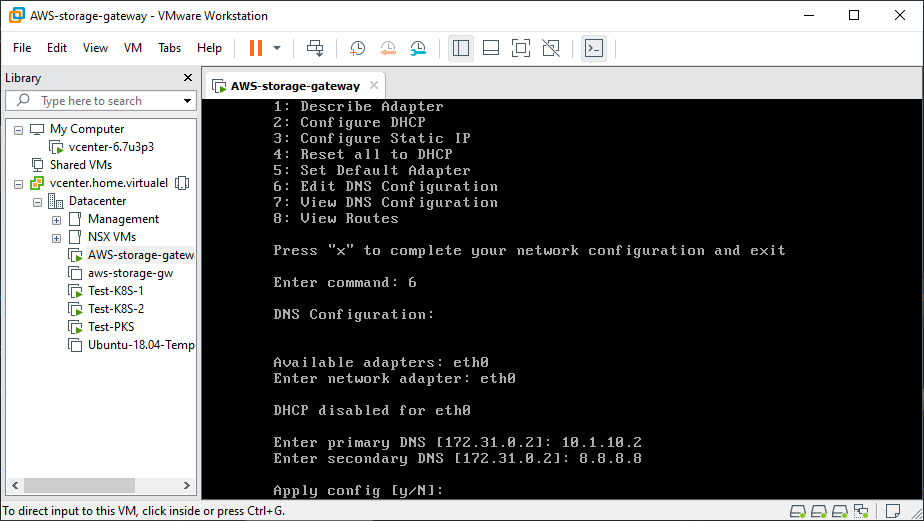
Once the additional disks are added to the VM, power it on and log into the console using the default credentials (admin/password). From here we will be configuring the network interface and DNS settings.
Connect AWS Storage Gateway to AWS
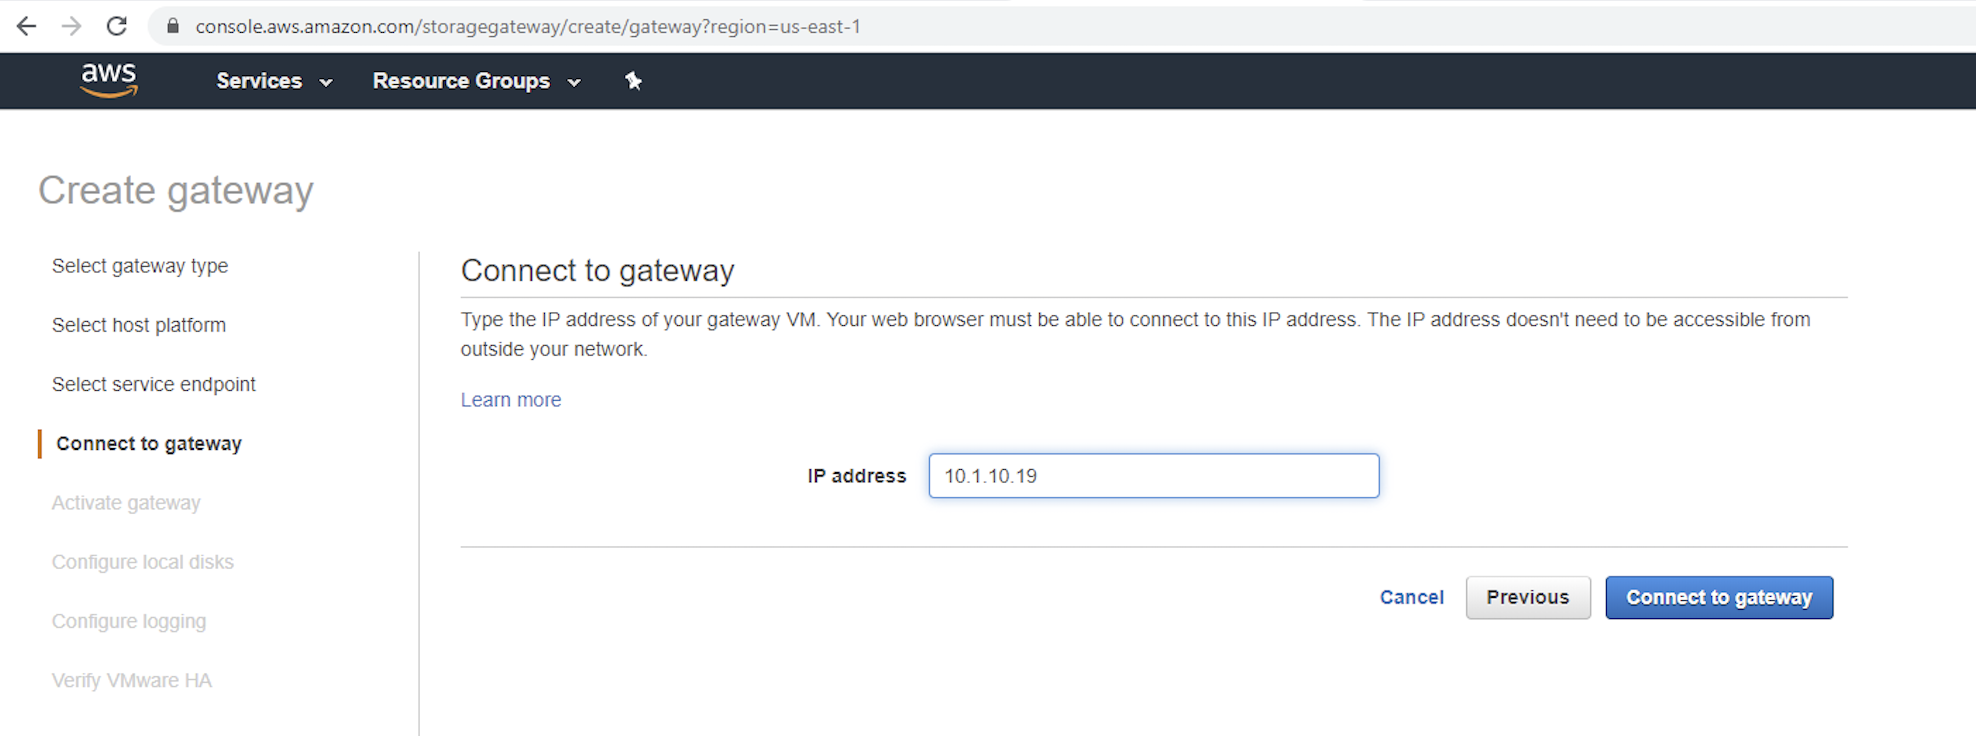
The AWS Storage Gateway is now deployed and ready to be attached to your AWS account. Log into your AWS account and select Services –> Storage –> Storage Gateway. Follow the installation instructions, connecting the VM to your account.
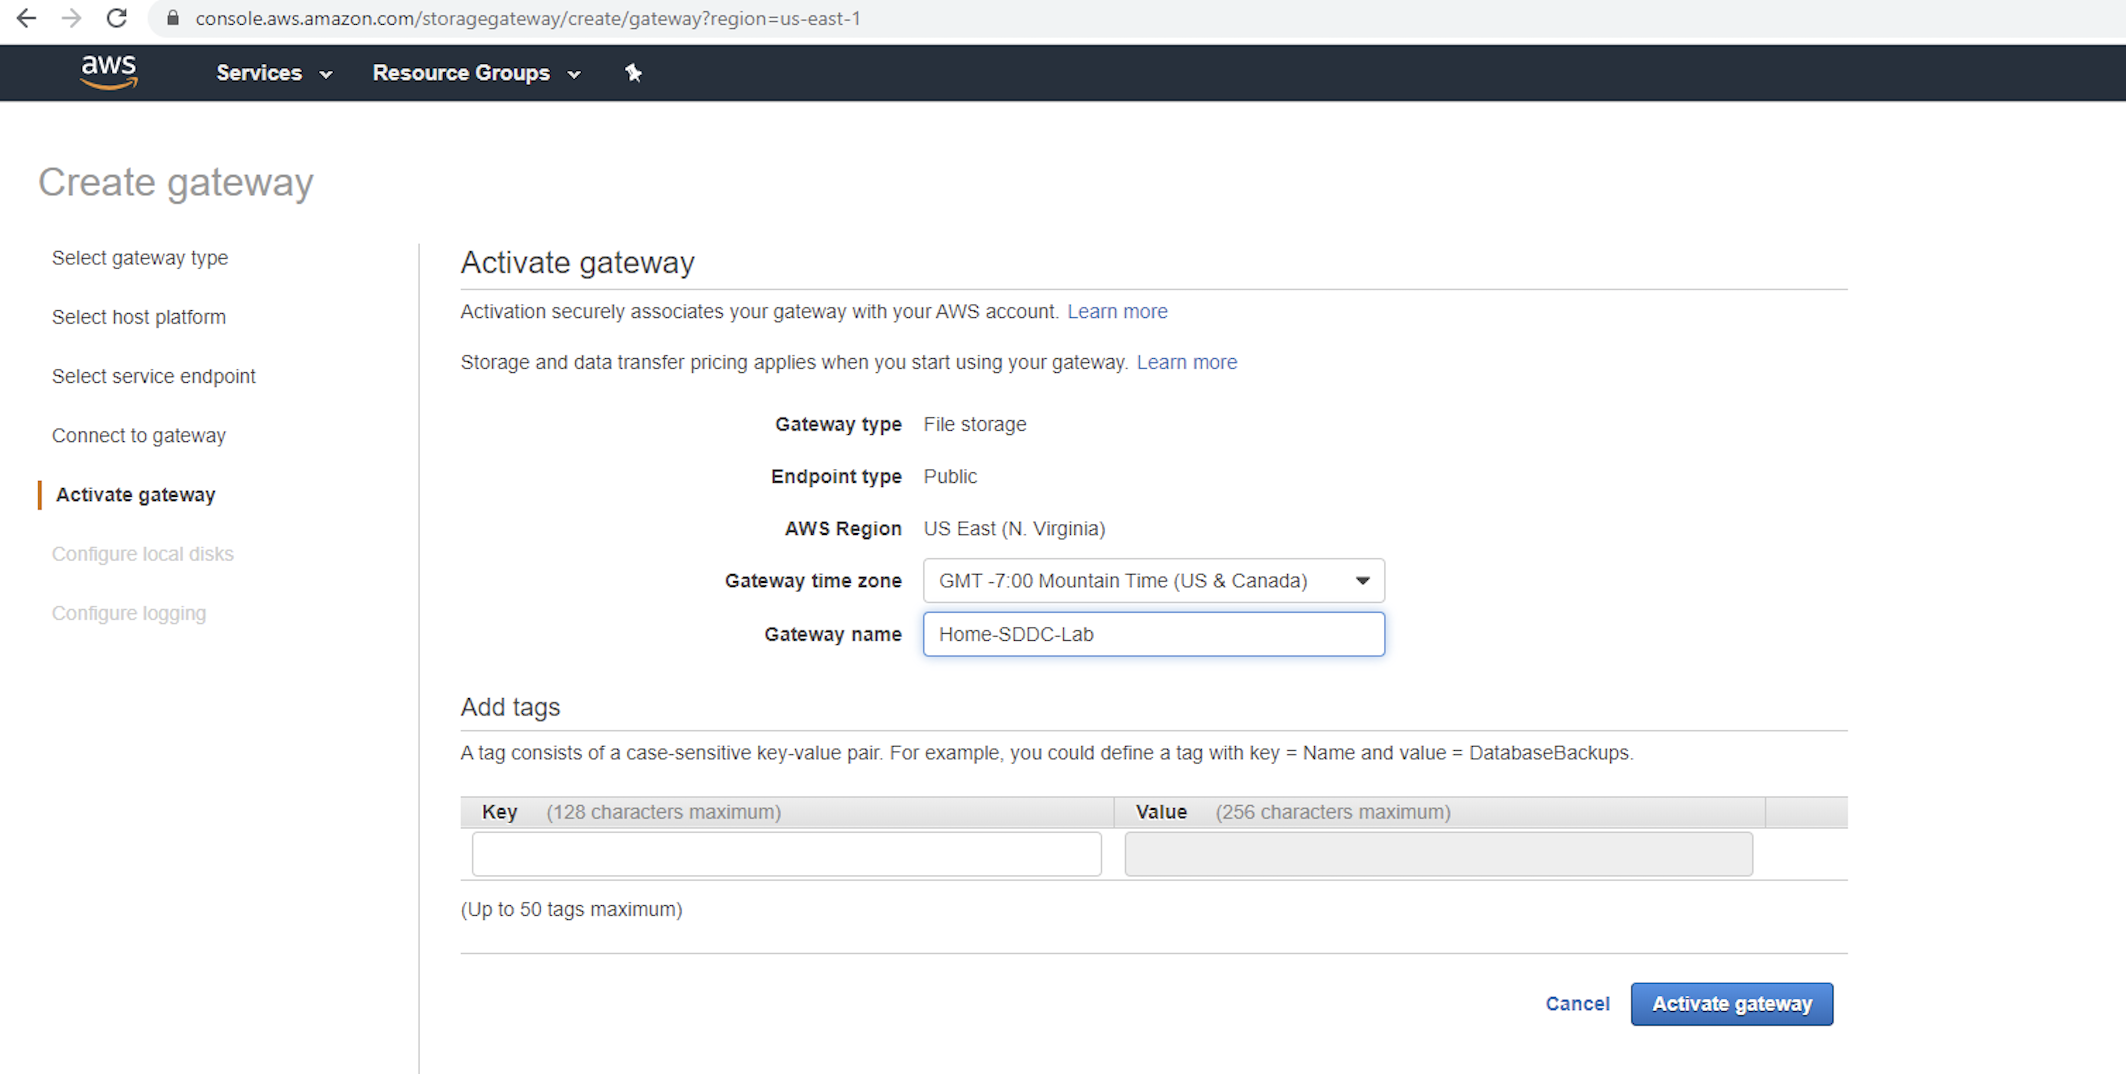
After the AWS Storage Gateway VM is connected, you can give it a name and select the proper timezone for the environment and finally activate the gateway.
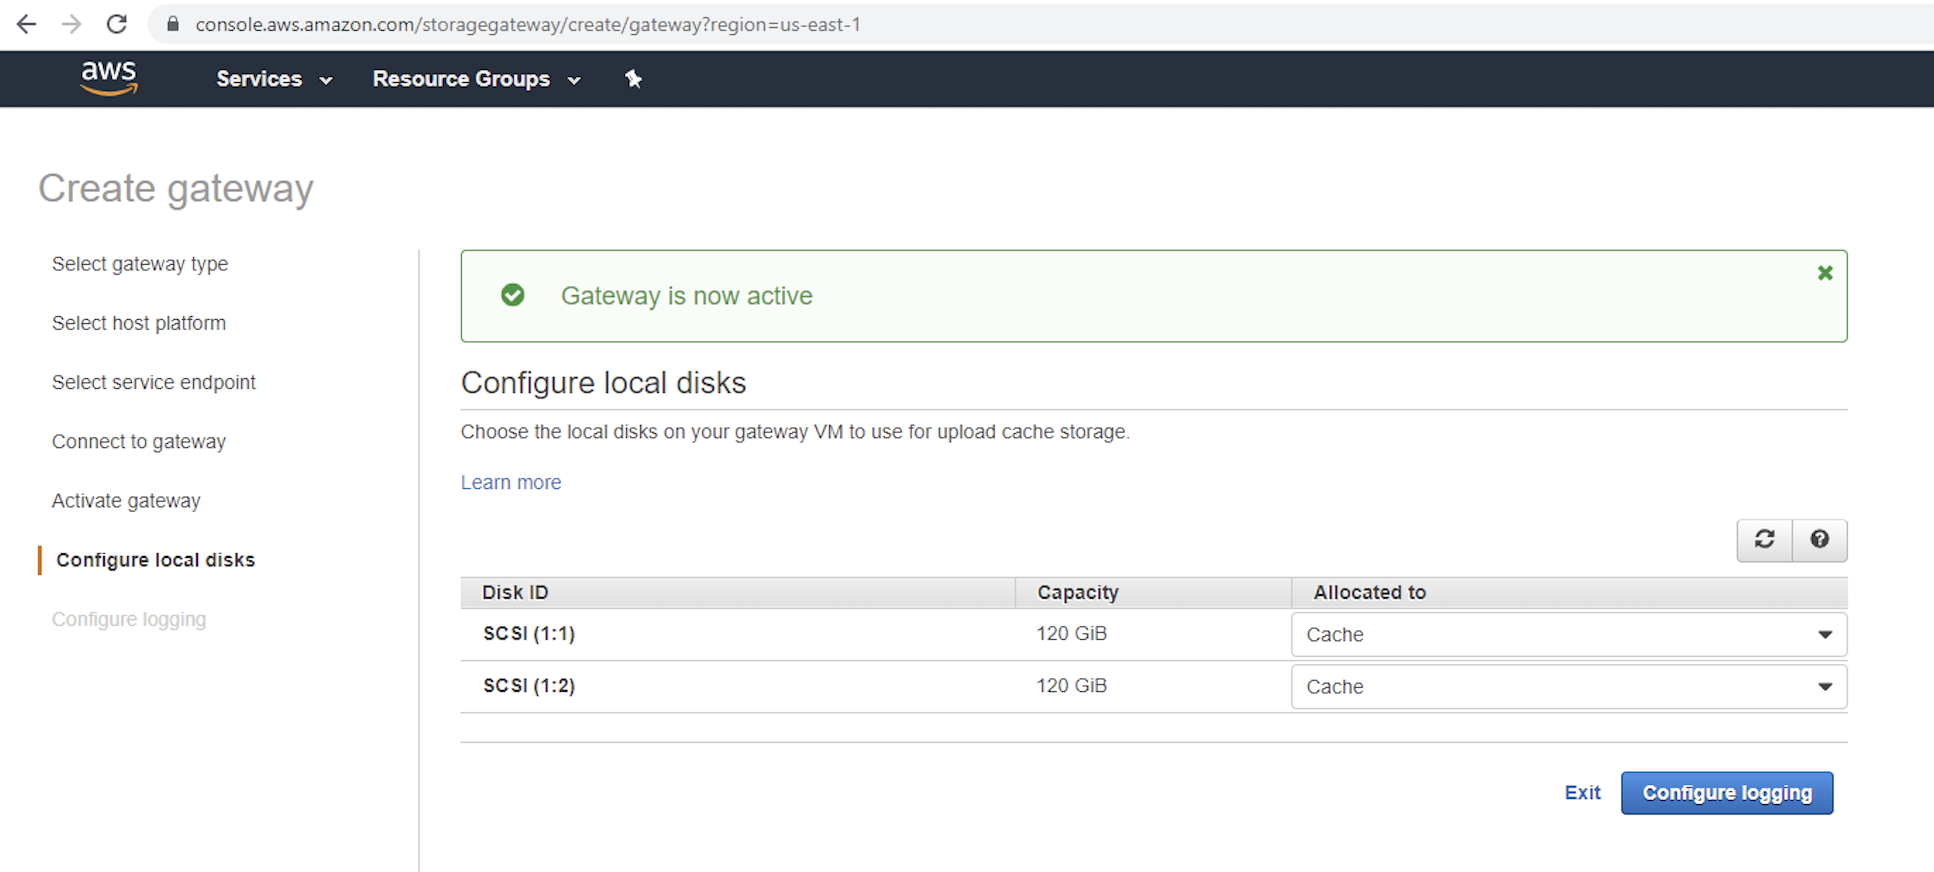
Next the system will detect the additional disk(s) you added to the VM for the upload cache.
Configure any logging you want with AWS CloudWatch and then attach the S3 bucket to be used for backups.
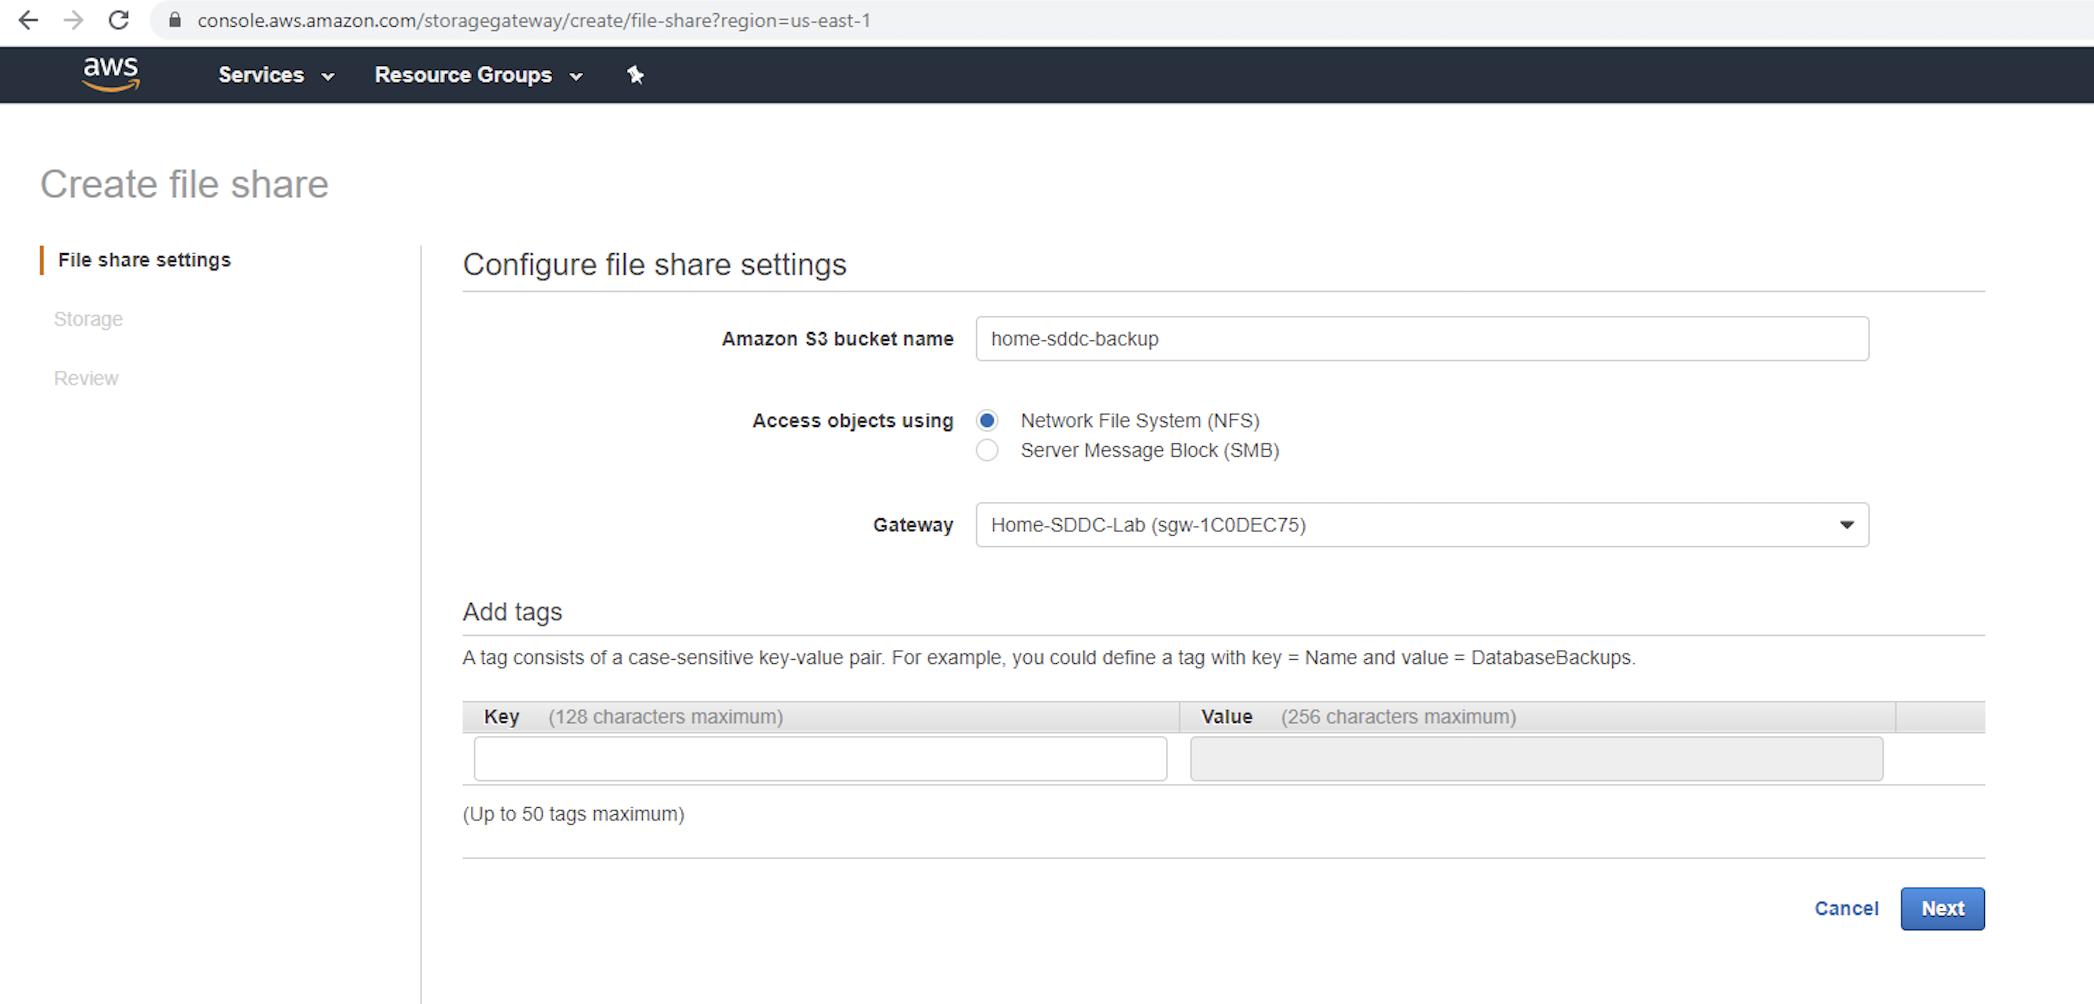
Click through the next few screens and setup an NFS fileshare. Once that is done, the AWS Storage Gateway is ready to be leveraged by a local Linux VM that you will point the NSX-T and vCenter Server Appliances to for backing up.
Local FTP Server
NSX-T backups are only supported using the sFTP protocol, so this will require having a local VM that is running sFTP and connected to the AWS Storage Gateway. Make sure to use the proper CHROOT setup in the sshd_config file to allow for access to the AWS Storage Gateway.
Add the following to the /etc/ssh/sshd_config file on the Linux VM:
Match group sftp
ChrootDirectory /
X11Forwarding no
AllowTcpForwarding no
ForceCommand internal-sftp
Create the sftp group and sftpuser user to the Linux VM:
linux-vm$ sudo addgroup sftp
linux-vm$ sudo useradd -m sftpuser -g sftp
linux-vm$ sudo passwd sftpuser
linux-vm$ sudo systemctl restart sshd
linux-vm$ sudo systemctl status sshd
Permanently mount the NFS share from the AWS Storage Gateway by editing /etc/fstab:
<aws-storage-gw-ip>:/<s3-bucket-name> /opt nfs rw,noauto,user 0 0Mount the filesystem:
linux-vm$ sudo mount /opt
linux-vm$ sudo mkdir -p /opt/nsxt
linux-vm$ sudo mkdir -p /opt/vcenter
You should be able to test connectivity to the SFTP server on the network and validate you can upload a file to the NFS fileshare that is attached to the AWS Storage Gateway. Now the system is ready to be leveraged by the NSX-T Manager and vCenter Server Appliance.
The steps for setting up the NSX-T Manager backups are included in the following post.